
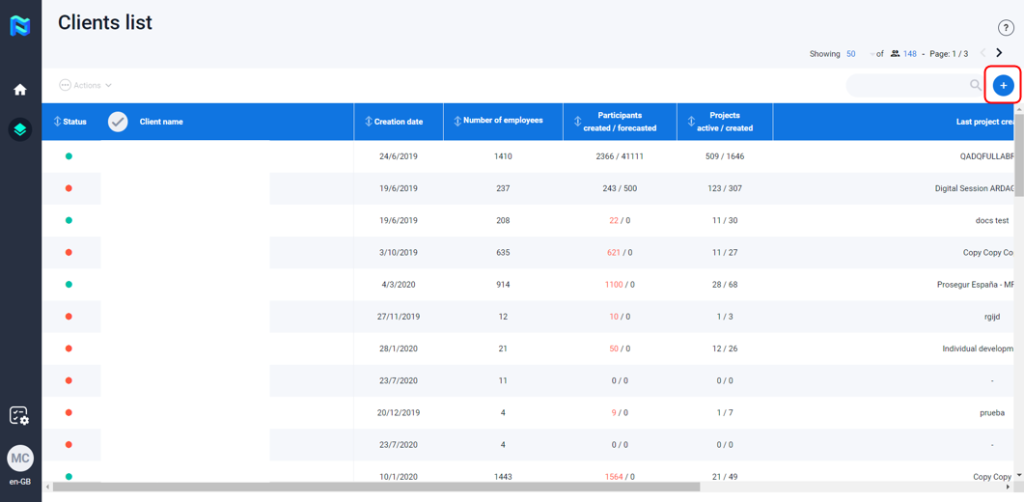
To create a customer, click on the “+” button at the top right of the screen.
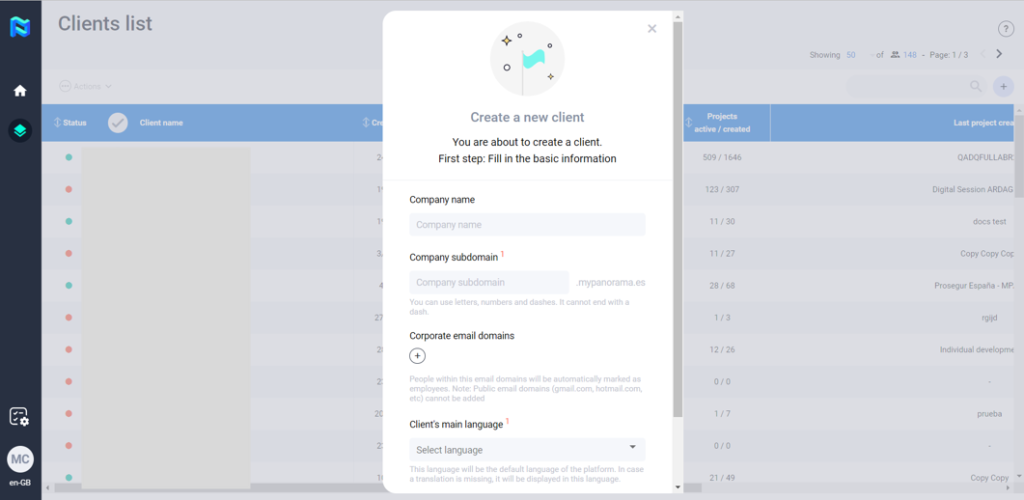
When you click on this button, a form will open asking for certain information in order to create the client. This information is as follows:
- Company name
- Company subdomain: This will be the URL with which you will access the evaluation area for your client. When choosing the name, please note that you can use letters, numbers and dashes. It cannot end with a dash.
- Corporate email domains: People within these email domains will be automatically marked as employees. Note: Public email domains (gmail.com, hotmail.com, etc) cannot be added.
- Client’s main language: This language will be the default language of the platform. In case a translation is missing, it will be displayed in this language.
Note that these fields will not be editable after creating the client.
When you have completed all the information click on “Create client”.
Next, continue with the client configuration. To do so, follow the orange exclamation marks which indicate that you have some information to complete.
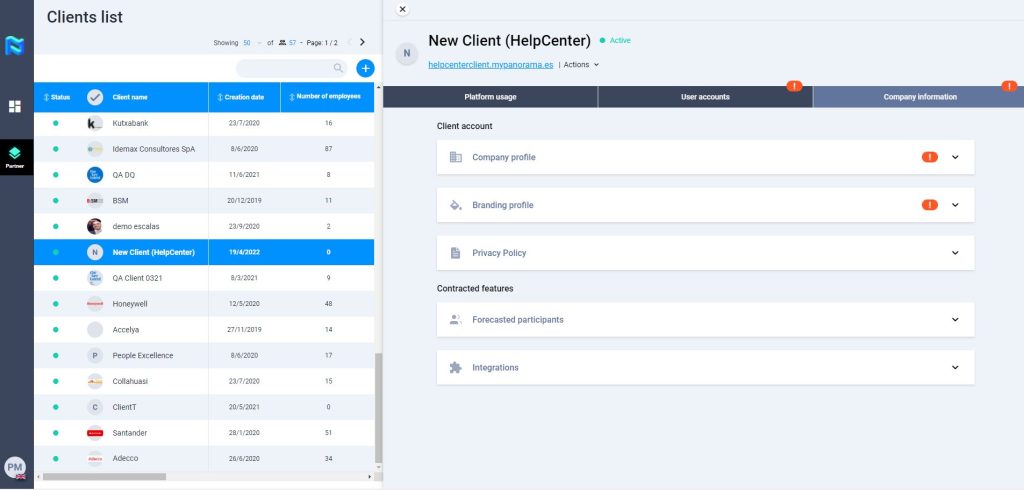
Check out the following articles to continue with the configuration:
Client account information
Integrating tool vendors
User accounts