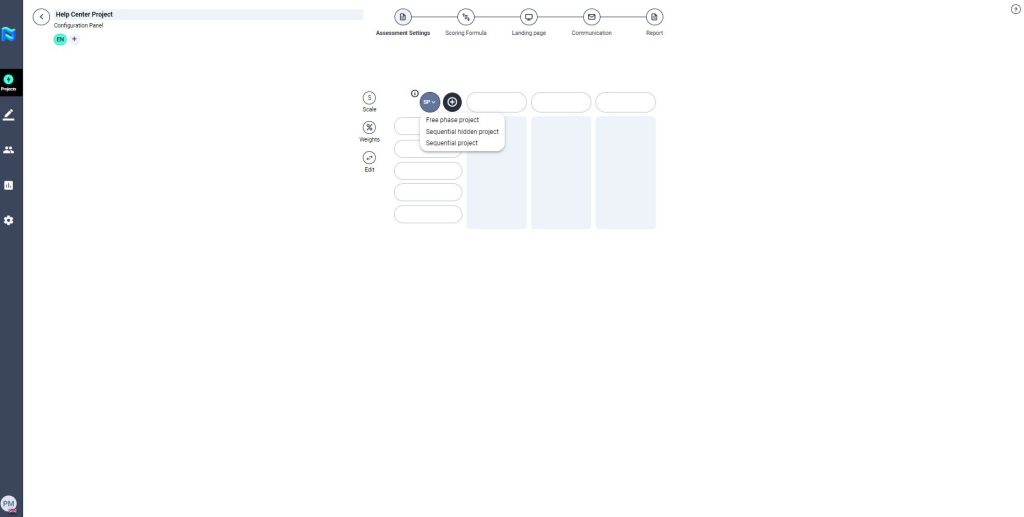
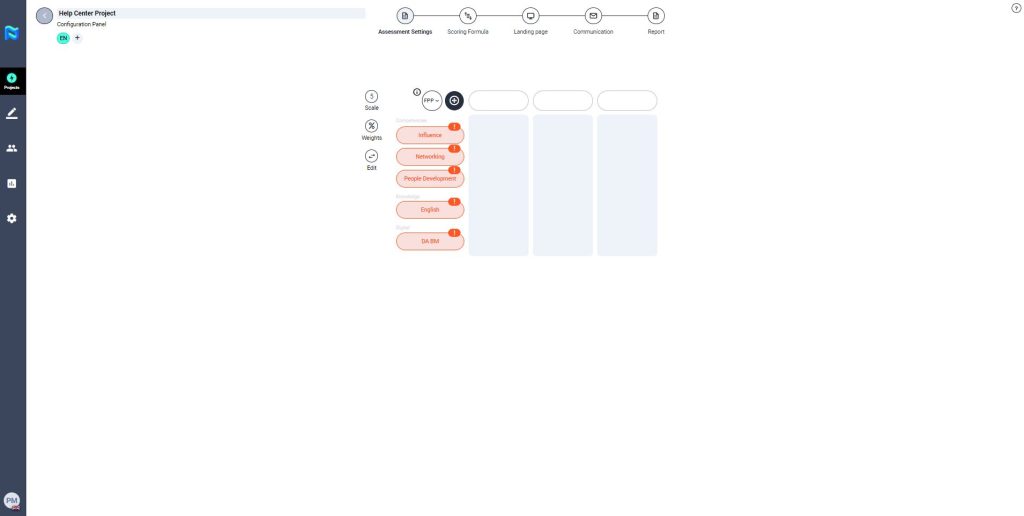
First of all, you need to select the type of project you want to create according to its sequence, you must click on the icon that appears in the upper left corner of the matrix and select one of the 3 options. Check the “Project type” article to learn what each of them is all about. You can also find information about them by clicking on the icon “I”.
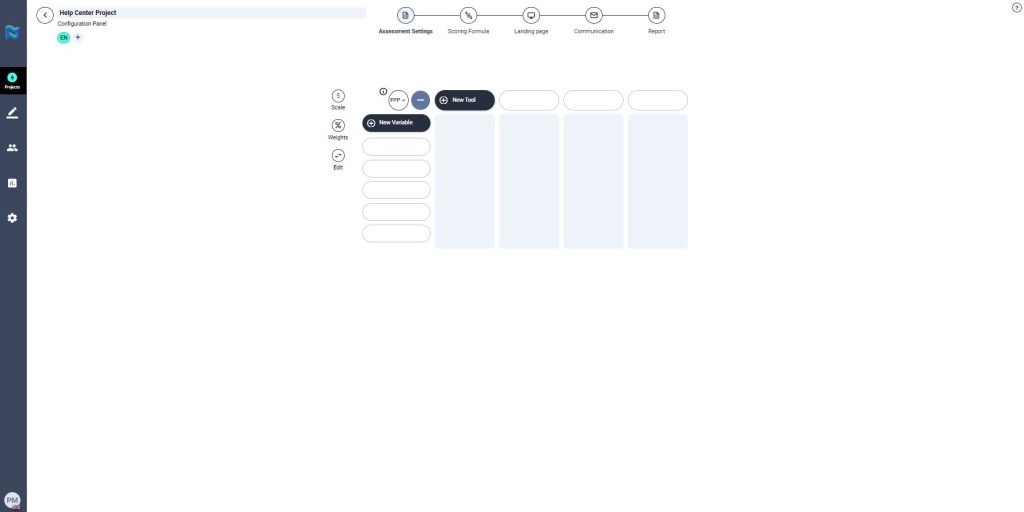
Next, you will need to add the variables to be used within the project and the evaluation tools that serve to evaluate each of that variables. To add them you only have to click on the plus button, which appears in the upper left corner of the matrix, and will show up the buttons “New variable” and “New tool”
Variables to be evaluated
These are all those variables (skills, abilities, knowledge, values) that you want to measure within a project. To add them you only have to click on the “New variable” button, which appears in the upper left corner of the matrix, and add them directly as they were previously predefined within the Administration Panel.
NOTE: The variables that appear in the client tab have had to be defined previously in the Administration Panel either by the PM or HRM. However, by default variables associated with shapes, ADEPT-15 and Digital Leader will always be available.
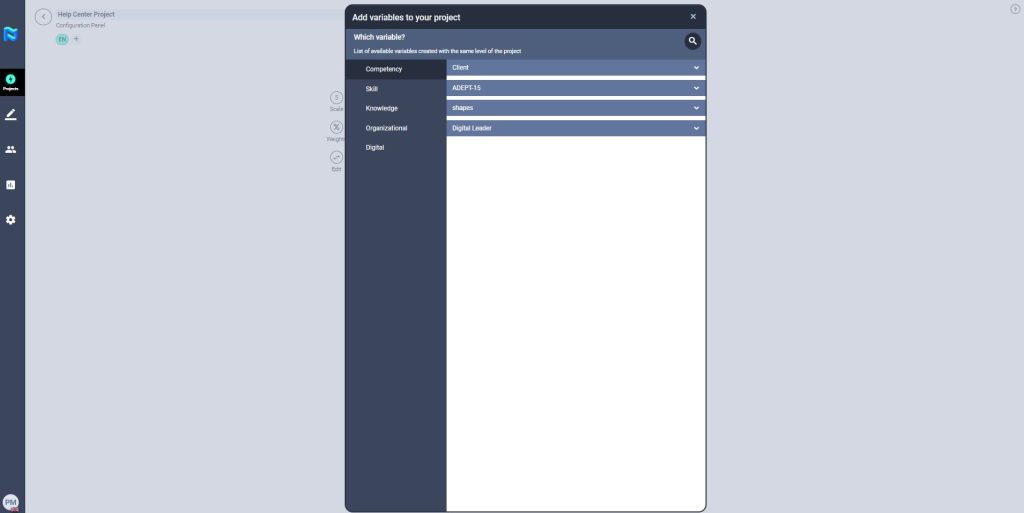
Once you select the variable you want to evaluate, it will appear in the evaluation matrix marked with an exclamation point.
Evaluation tools
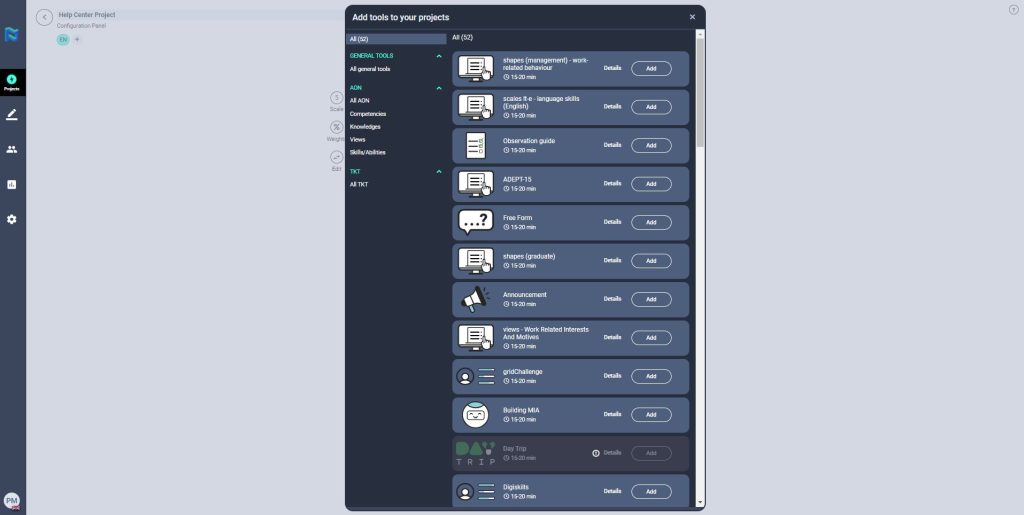
These are all the tools that belong to the client, AON or third parties, that are integrated within the platform and that serve to evaluate each of the variables that we have previously selected for your project.
To access and select them, just click on the ‘New tool’ button in the upper left corner of the matrix, and a marketplace will open where you can select each of the desired tools, as shown below.
NOTE: You must take into consideration that in order to properly set up Panorama, the Administration Panel must be previously configured correctly, in terms of configuration and mapping. If not properly set up, the consequence of this will be the name appearing in orange writing, this will mean the HRM or PM will have to go back and reconfigure the variables.
NOTE: To learn more about the Evaluation Tools see the specific article “Evaluation tools market”.

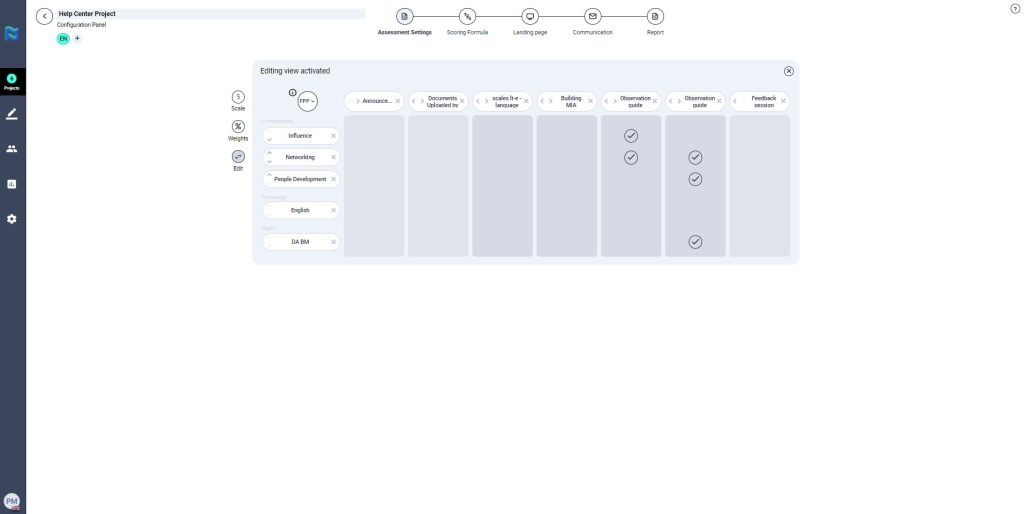
Tool configuration and relationship with variables
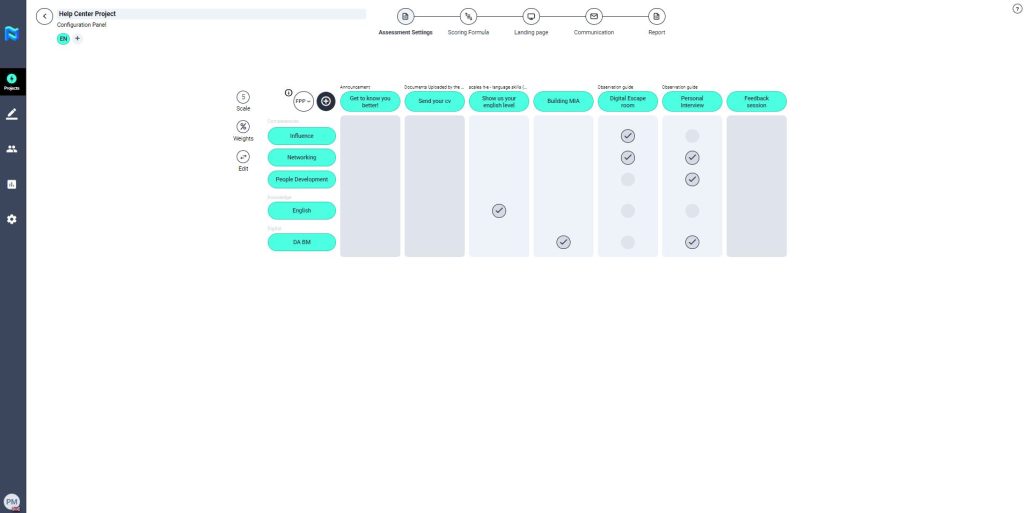
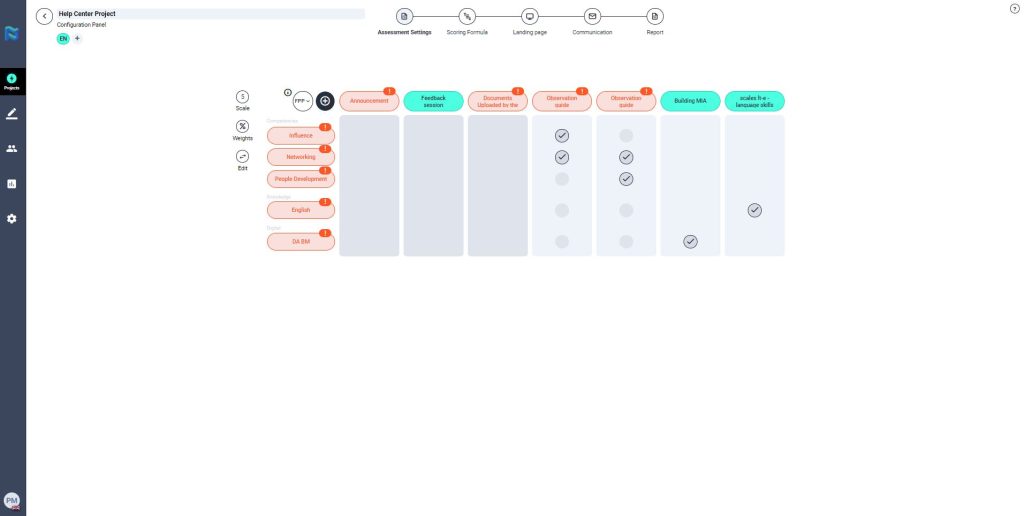
Once the variables and the tools with which we want to evaluate have been selected, we must associate them by selecting the corresponding check within the matrix by simply clicking within the bubble that marks them.
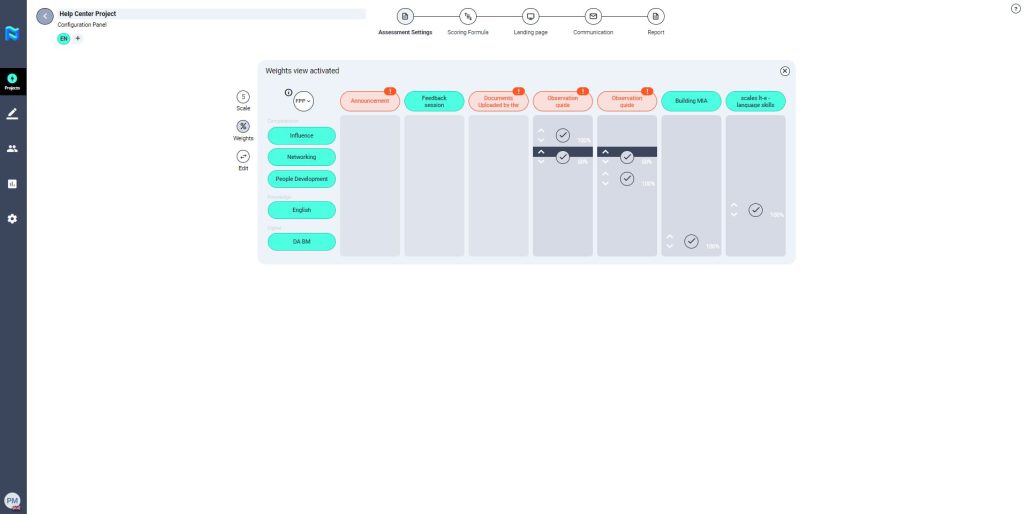
Finally, to finish configuring the matrix of variables per test we must assign the weights we want each of the tests to have for each variable selected for them. To do this, we only need to click on the “Weighing” icon (%), filling in the desired percentage for each test in each variable, and by clicking on the “Check”, we will configure the selected weights.
NOTE: Each line of the matrix must have a final numerical score adding up to 100% so the matrix is configured correctly. If not, the variable will not appear checked in green further down the process.
You also will be able to change the order of the tools by using the edit button.
To finalise the configuration of the evaluation matrix, please note that some tools require extra configuration. If so, they will be marked in orange and you will need to access those tools to finish configuring them.
For example, if you have set up an announcement, you will need to include in the tool a URL or document to which you want to redirect your participants.
You can also edit the name of the tools and add a description, which will make the candidate’s experience of the journey easier and more attractive.