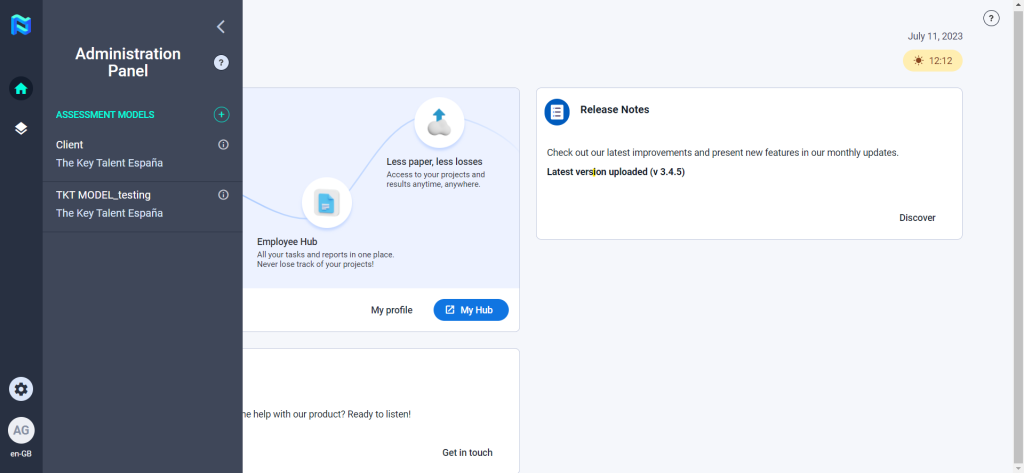
In this section, you will be able to configure the Assessment model that you will use in your projects. To get started, click on the “Assessment model” button.
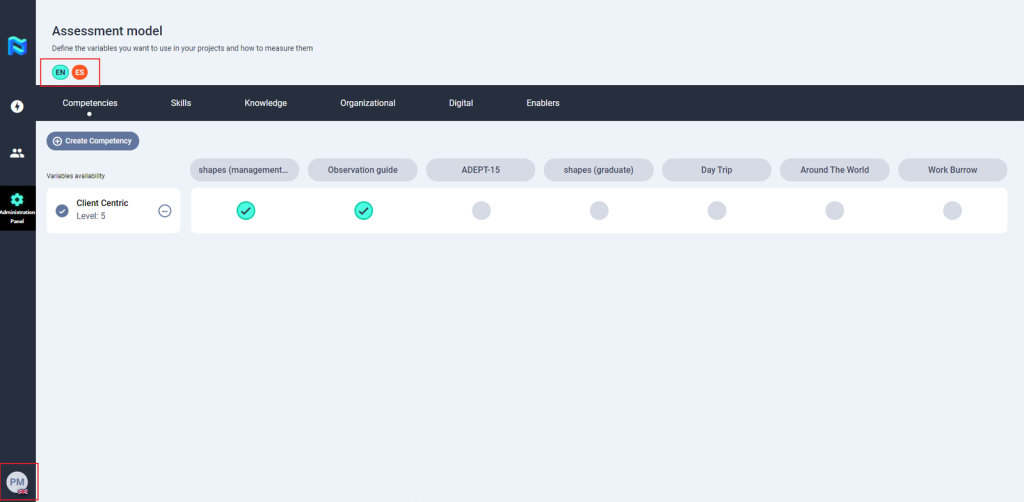
Now, you will be able to define the variables you want to use in your projects and how to measure them.
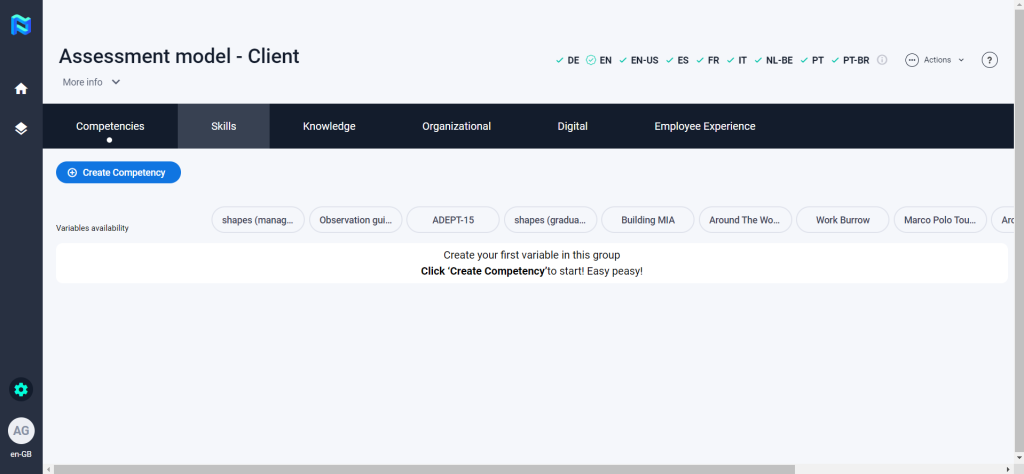
To add a new competency to the model, you will need to go to the competencies section and click on the “Create Competency” button.
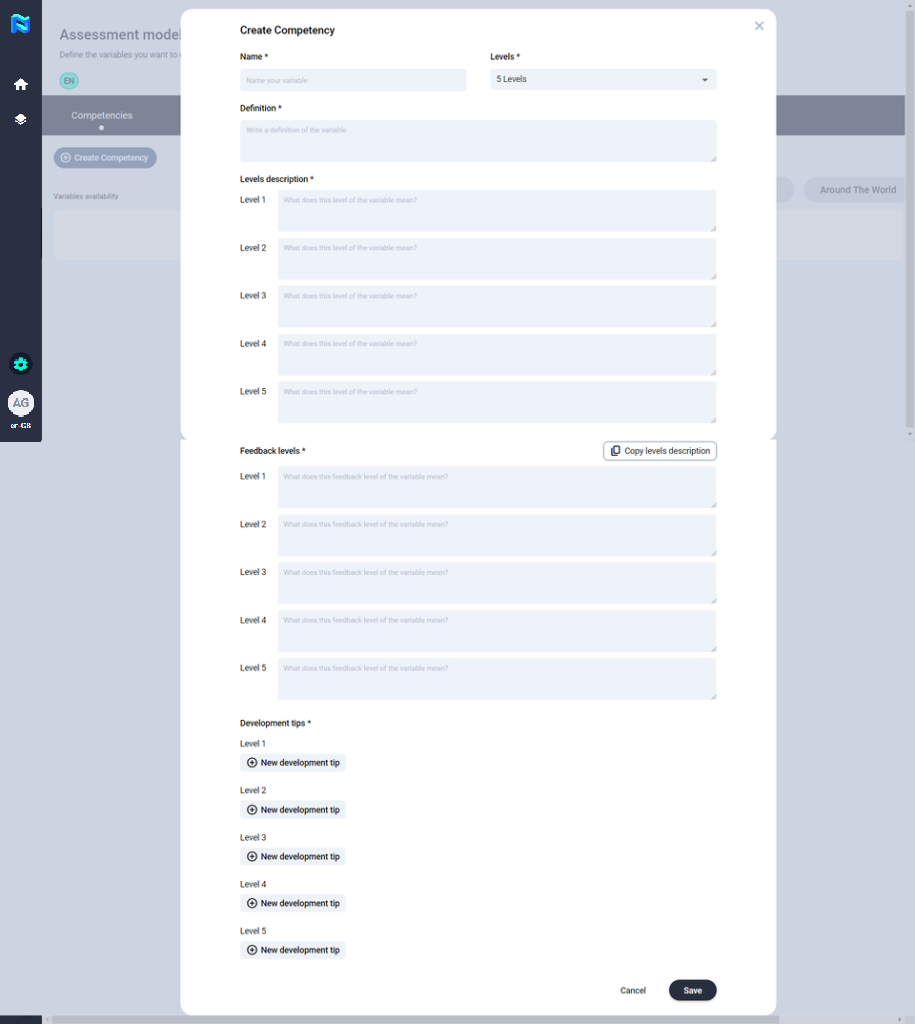
Then, you will have to complete all the fields needed to define that competency, those fields marked with a * are mandatory. Finally, click on “save”.
Note that the level of the competencies has to match the level defined in the project so that they appear in the list of the available variables of the project you are going to define.
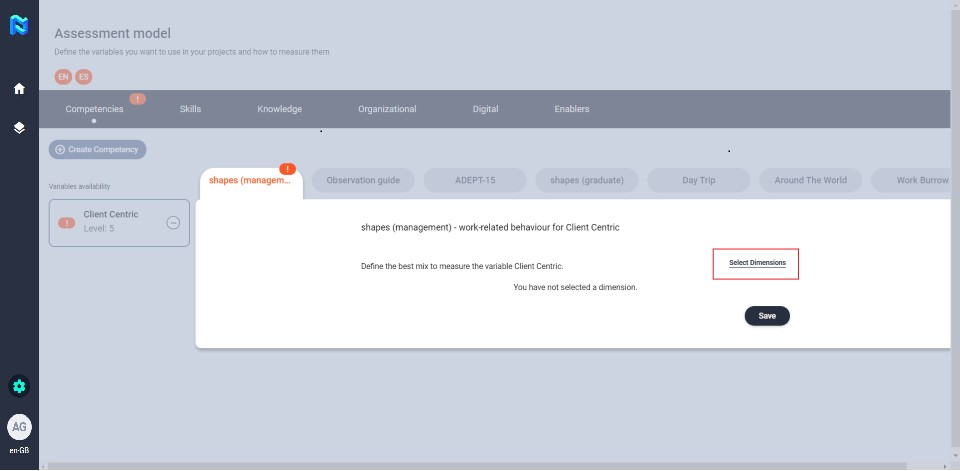
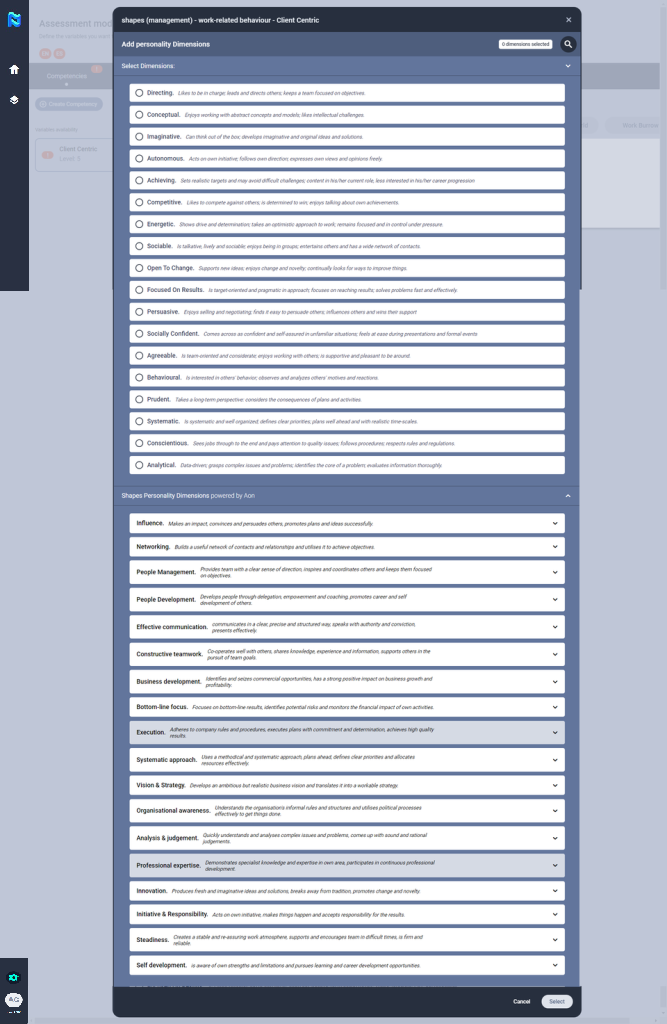
The next step will be to define which tool you are going to use to measure that competency (e. g. shapes management). To do this, click on the competency and then mark the circle corresponding to the tool with which you want to measure it. When you do this, you will see that the tool will automatically be marked orange and an exclamation mark will appear on it, this means that the tool needs to be configured for the selected variables. Then, click on the tool to configure it.
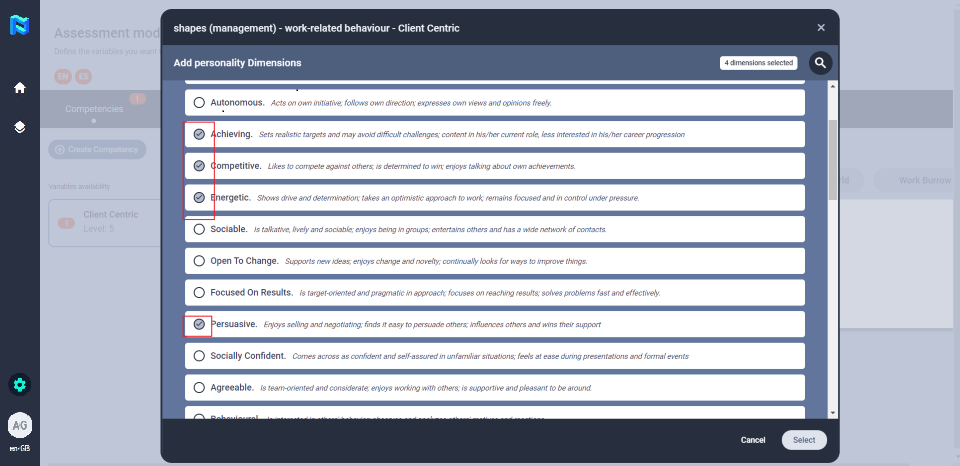
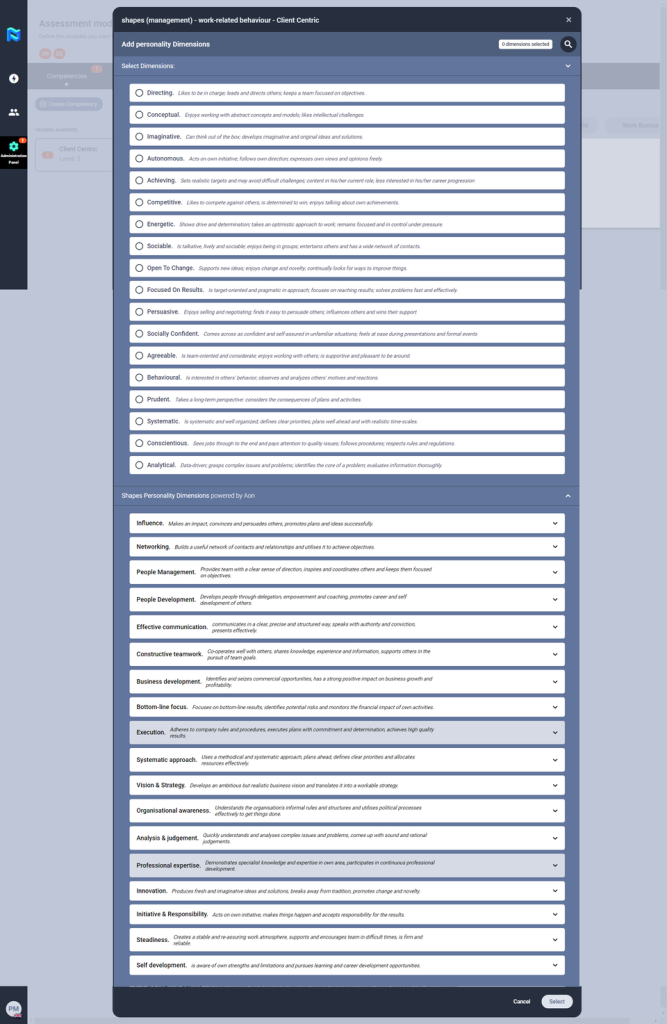
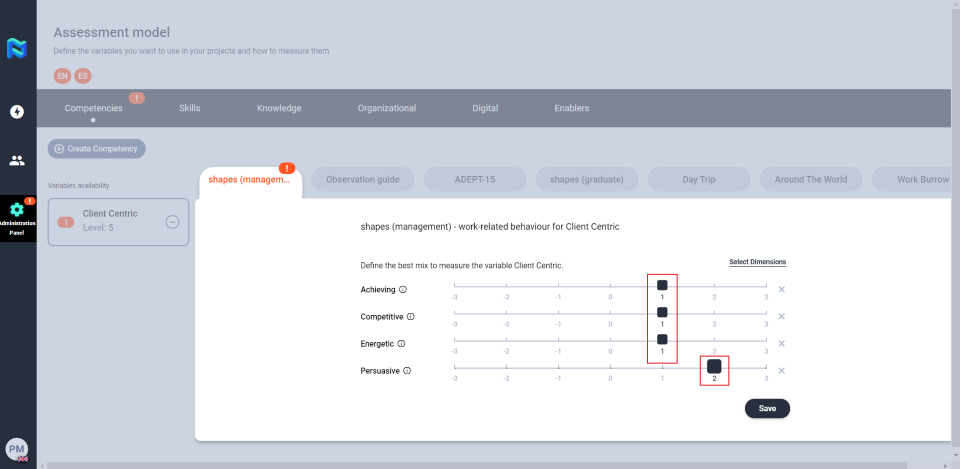
The next step will be to give weights to those selected dimensions.
Click on the graduated line, selecting the weight you want for that dimension. When you do this for all selected dimensions, save the changes by clicking on the “save” button.
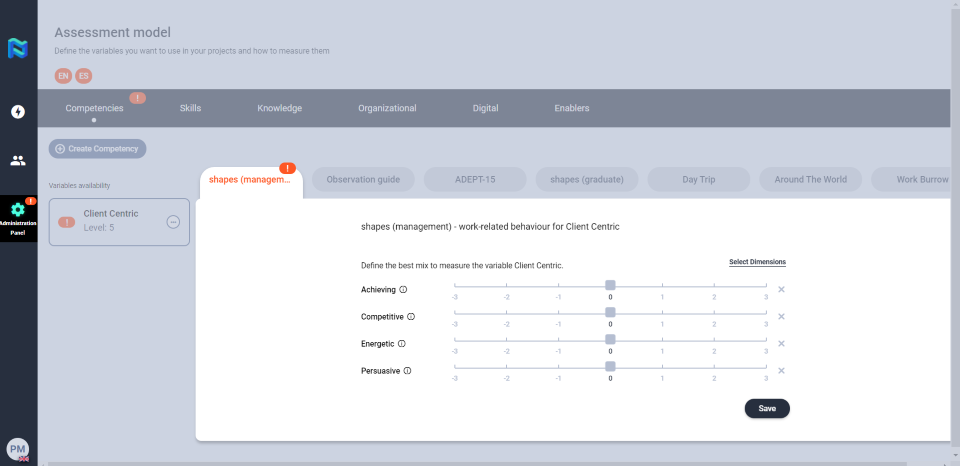
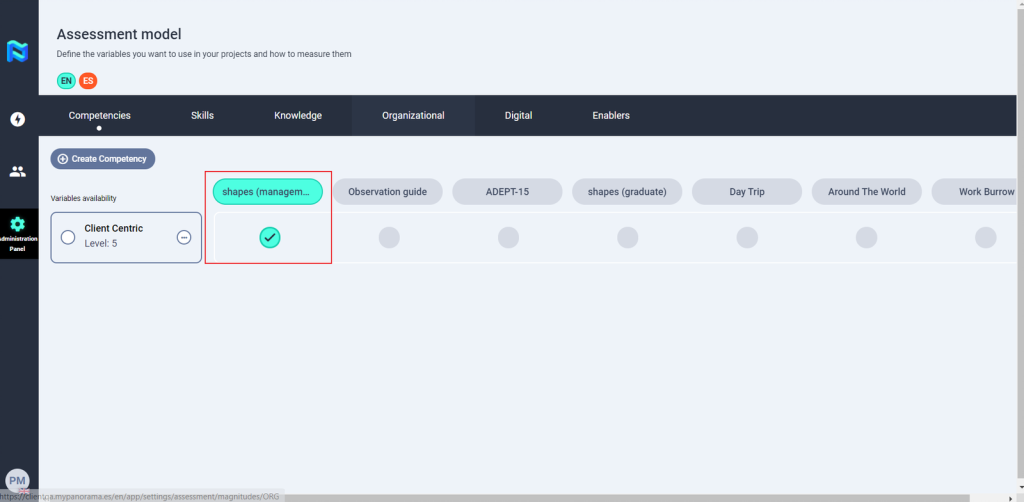
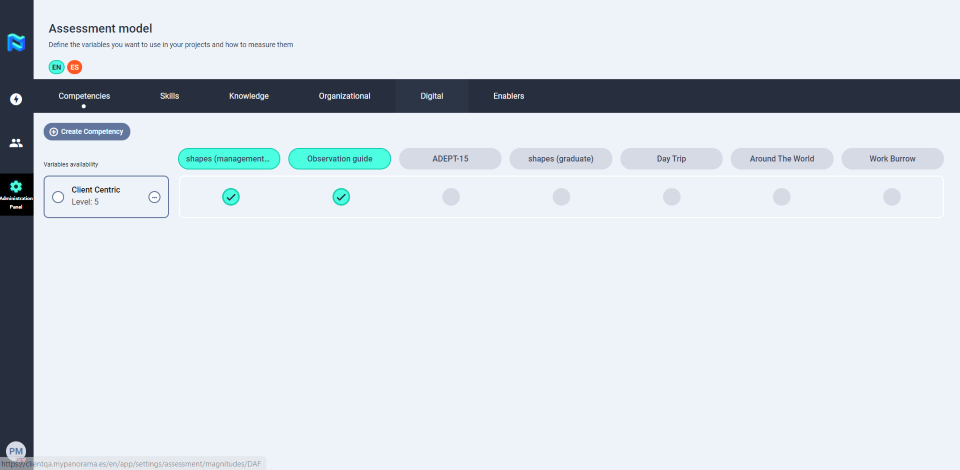
After this, you will see that the tool will be marked green, which means that you have finished configuring that tool for that variable.
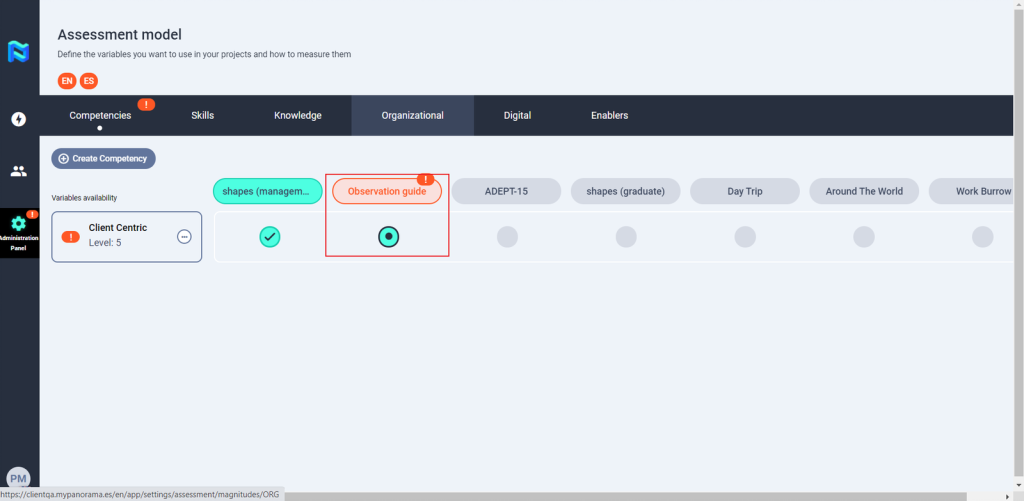
You can measure the same variable with different tools. For example, you can also measure this tool with an observation guide.
To do this, click on the competency and then mark the circle corresponding to the tool with which you want to measure it. When you do this, you will see that the tool will automatically be marked orange and an exclamation mark will appear on it, this means that the tool needs to be configured for the selected variables. Then, click on the tool to configure it.
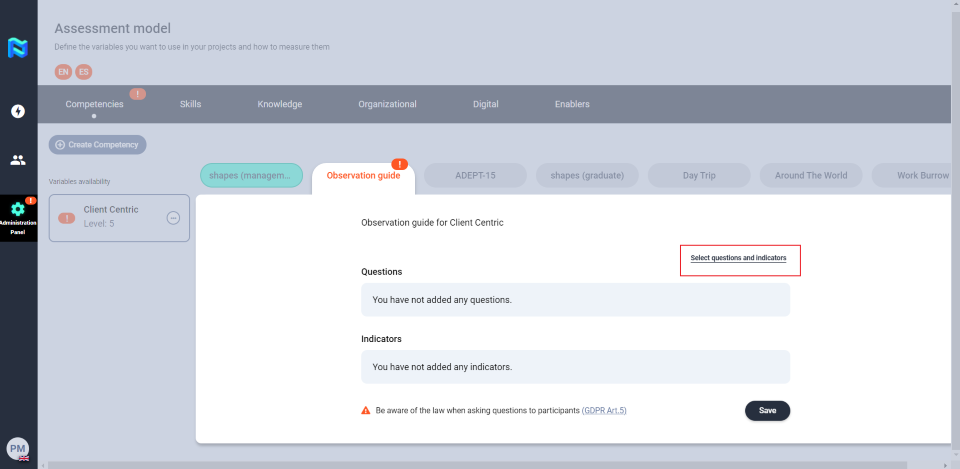
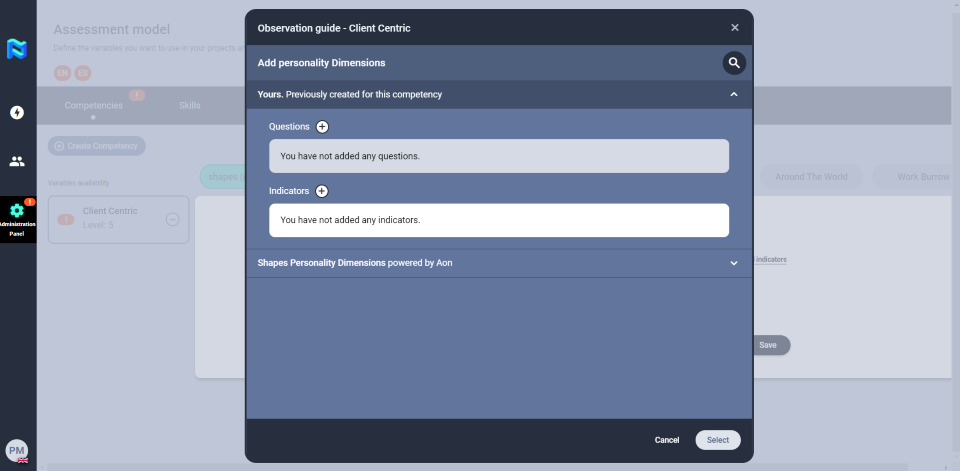
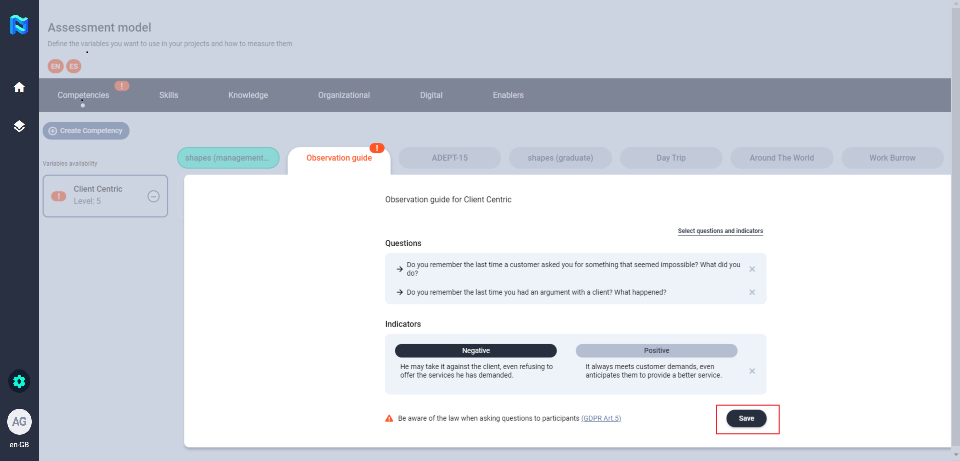
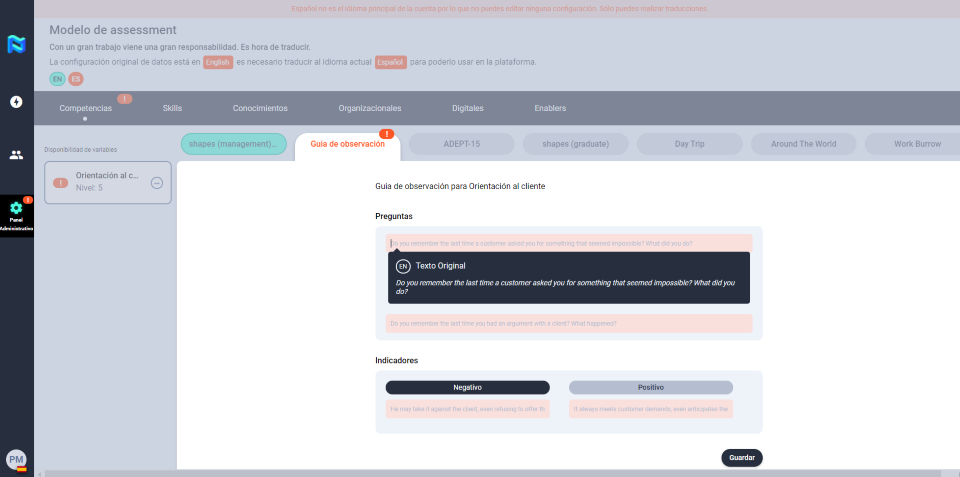
Next, you will need to select the questions and indicators that you will use to measure that variable.
You can create your own questions and indicators or you can use the questions and indicators that are preloaded on the platform that corresponds to the shapes competency model.
These can also guide you in creating your own set of questions and indicators.
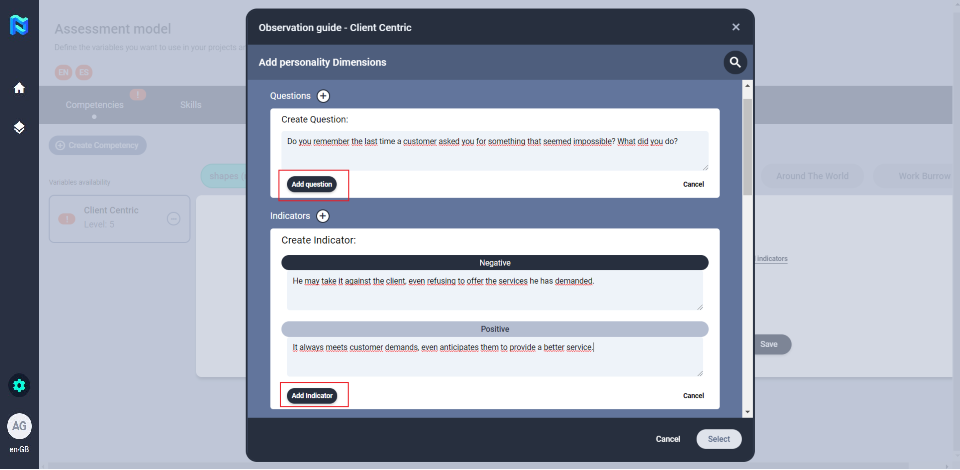
To create a question, click on the “+” button to the right of “questions”, define it, and save the question by clicking on “add question”.
Add the indicators by clicking on the “+” button to the right of “indicators”, define the negative and positive indicators, and save the changes by clicking on “add indicator”.
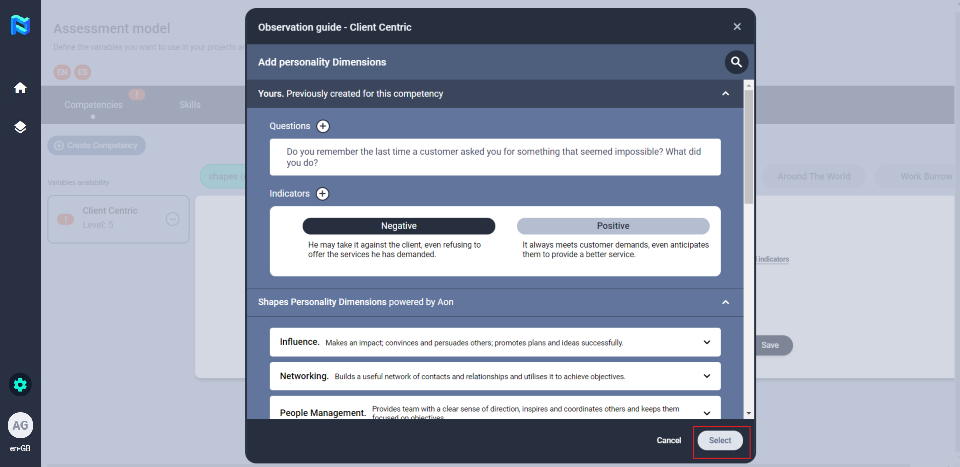
If you decide to use any of the questions and indicators that are already preloaded, you just need to select them by clicking on the circle to the left of the question or indicator.
When you define or select the questions and indicators save them by clicking on the “select” button
To finish setting the variable with the Observation guide tool, click the “save” button.
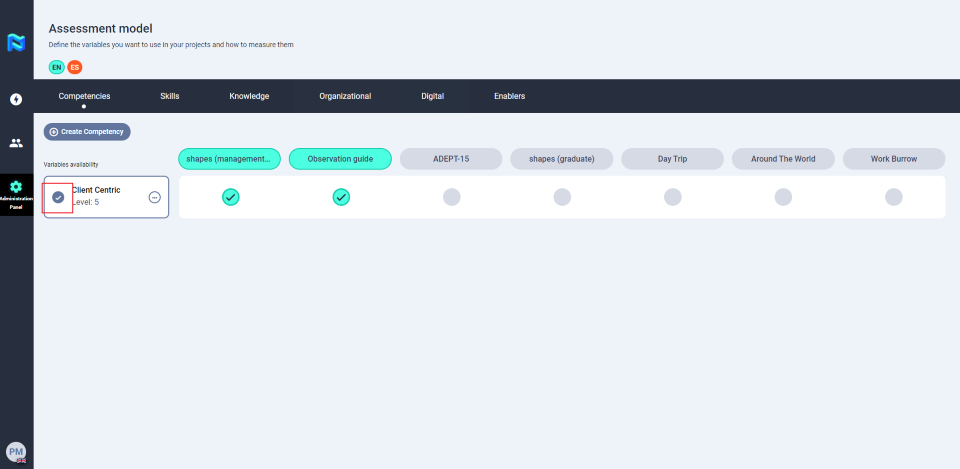
Remember to mark the competency so that it appears in the list of project variables. To mark it, click on the circle to the left of the variable name.
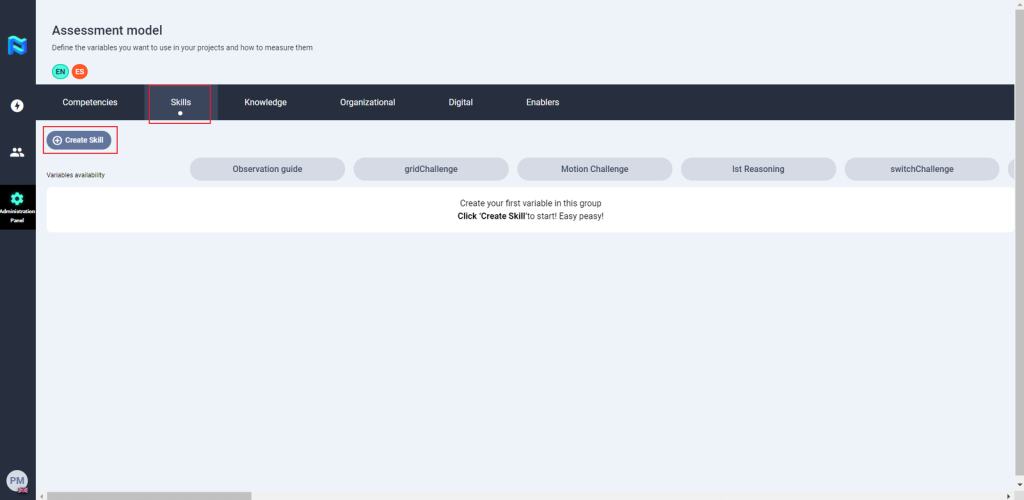
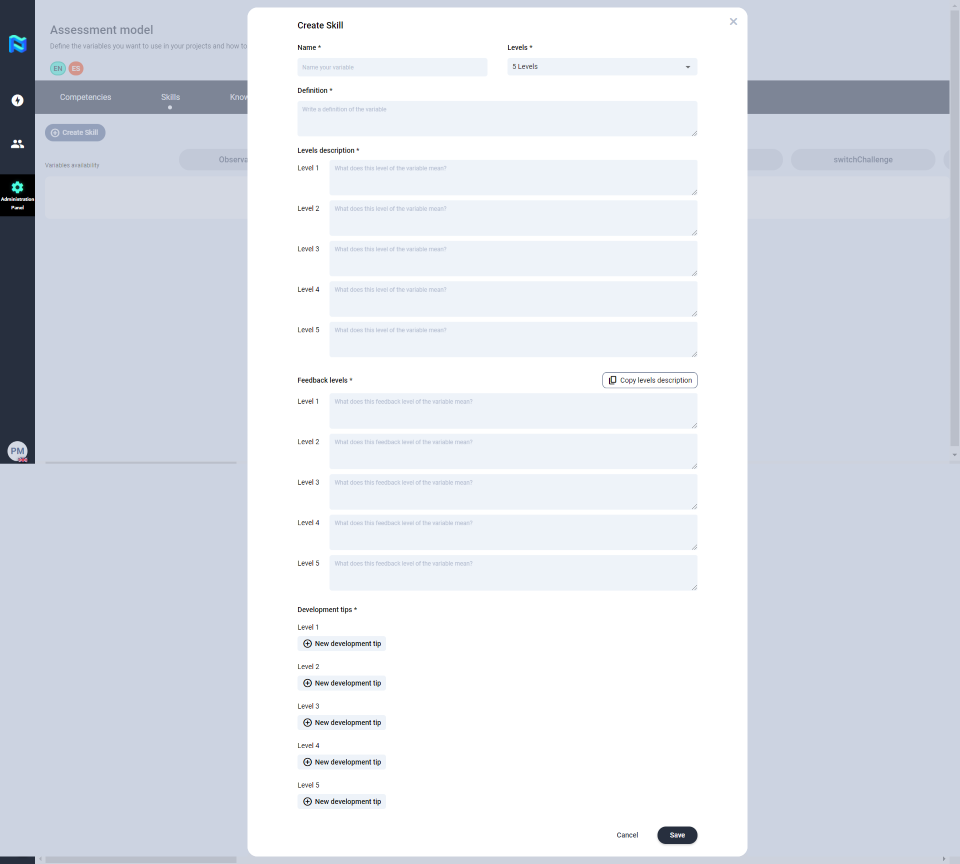
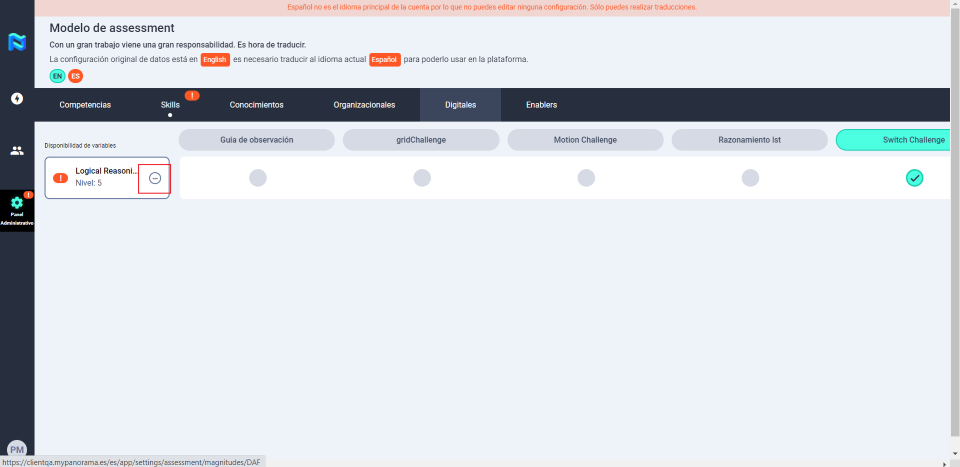
To add a new skill to the model, go to the Skills section and click on the “Create skill” button.
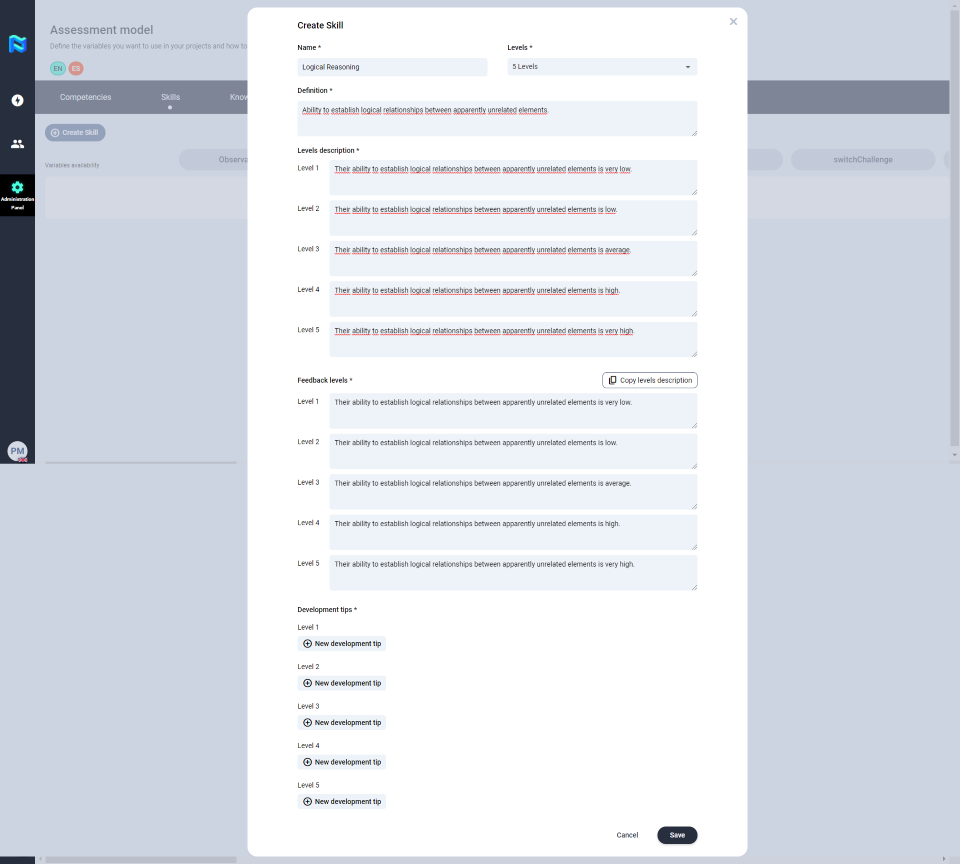
Then, you will have to complete all the fields needed to define that skill, those fields marked with a * are mandatory. Finally, click on “save”.
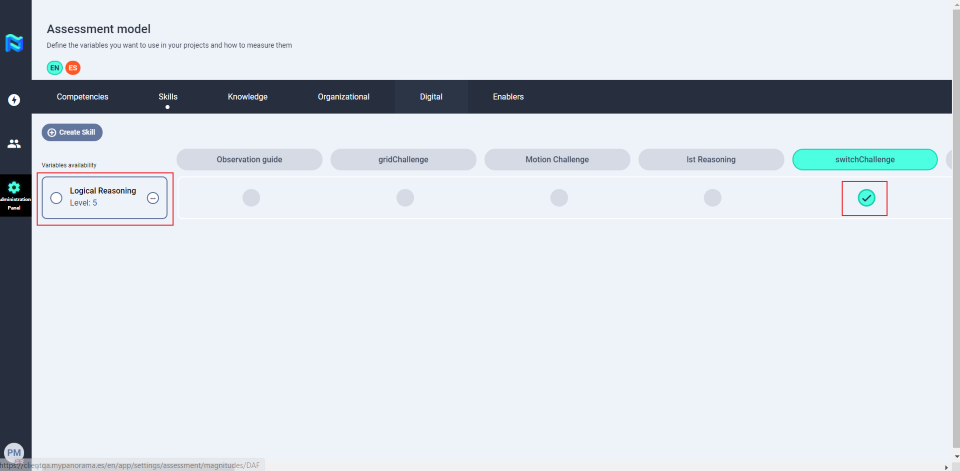
Note that the level of the skills has to match the level defined in the project so that they appear in the list of the available variables of the project you are going to define.
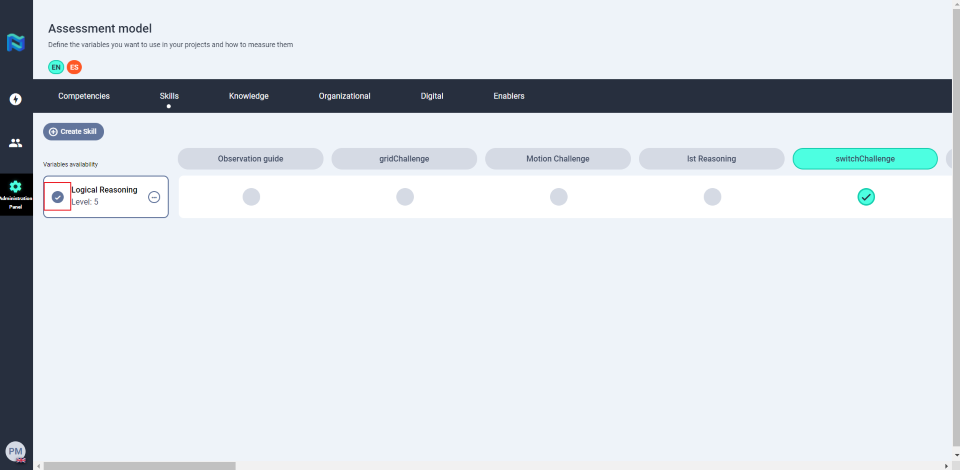
The next step will be to define which tool you are going to use to measure that skill(e. g. shapes management). To do this, click on the skill and then mark the circle corresponding to the tool with which you want to measure it. Everything will be ok if the tool is marked green.
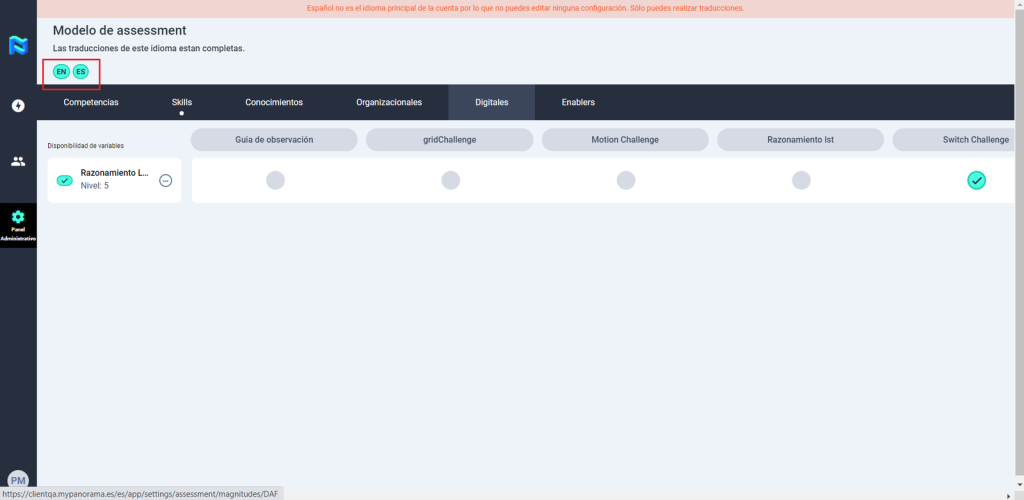
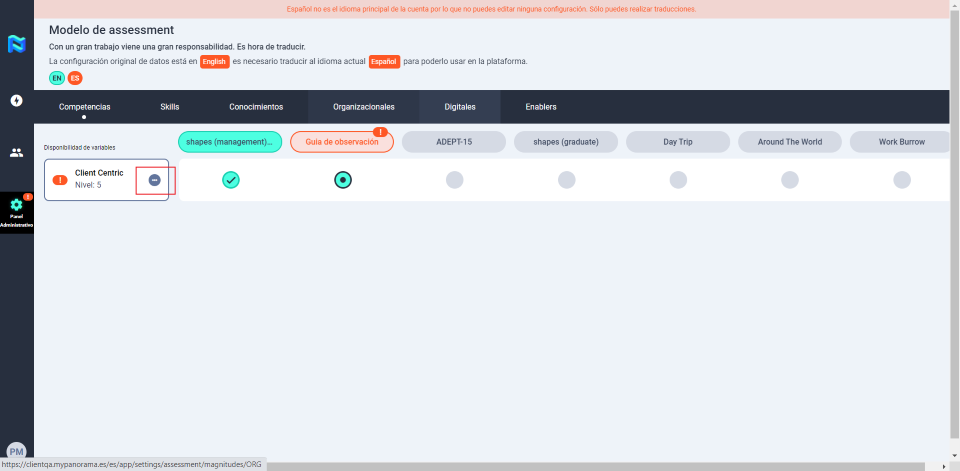
If the client is configured in multiple languages, you will need to translate all the variables created into all the languages that the project has. The platform will indicate in orange those languages that are missing for translation. In the case of the example, you will see that the Spanish translations are missing.
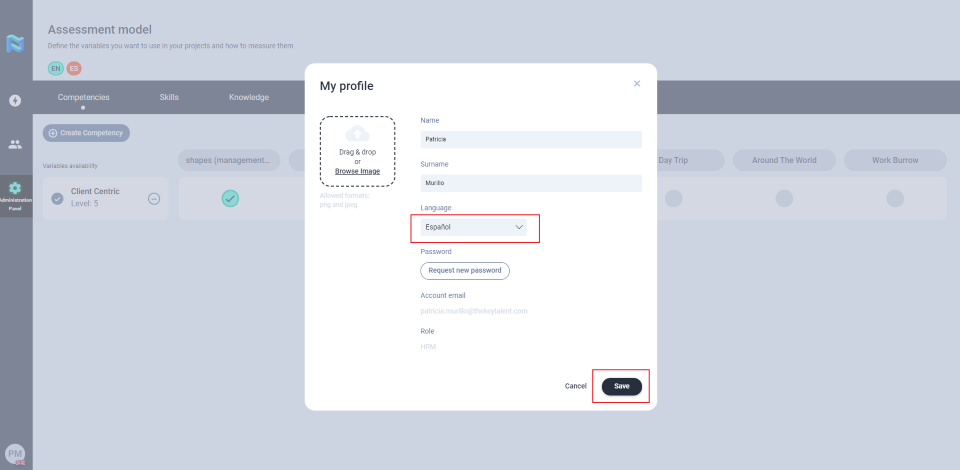
To add other languages, you will need to go to your profile and change to the language you want to add. When you change your profile to a different language than the one you originally used to create the variables, you will see that the variables are marked with an orange exclamation. The same will happen with questions and indicators and all those fields that need to be translated.
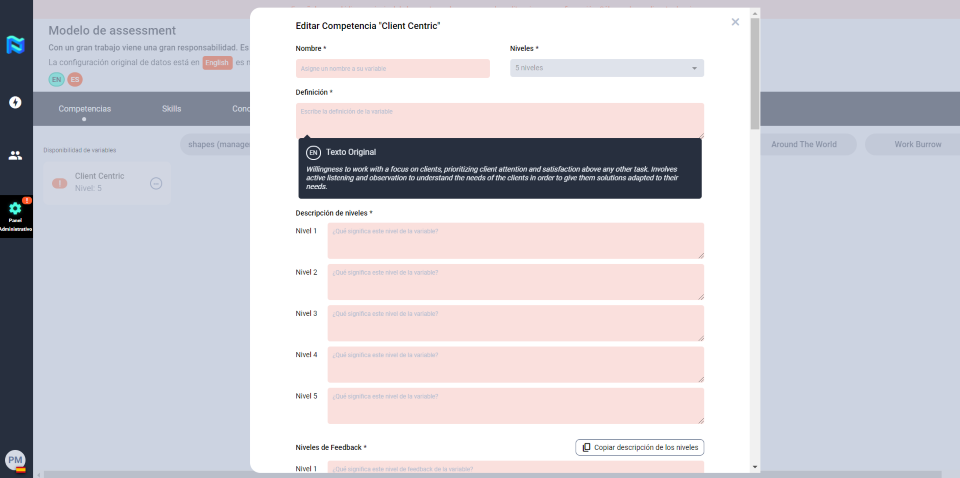
To add the new language select the variable or tool and complete the fields that need to be translated. As an orientation, you will have available in a modal the original text of each section that you need to translate.
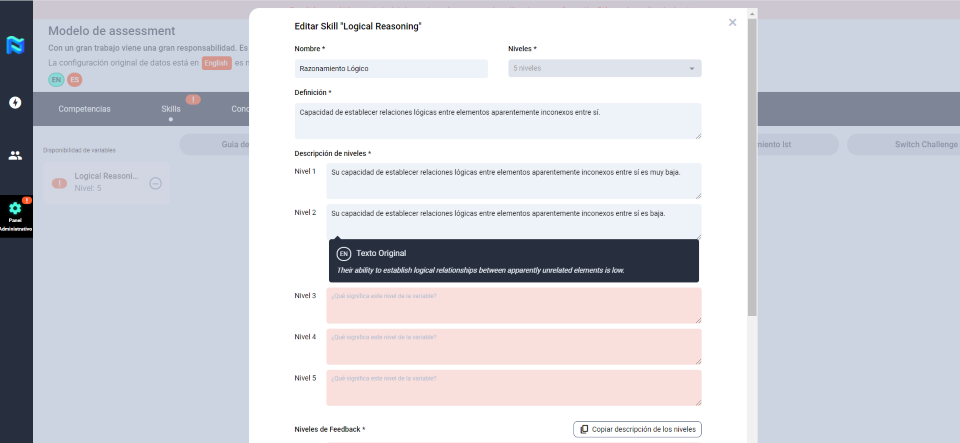
When you add all the translations, you will see that the language icons at the top left of the screen are marked green.
With this, you will have completed the configuration of your assessment model and you will be ready to configure your project.